Getting Started
Creating a New Account
PERFORM is available to organizations but not individuals (at this time). If you're part of an organization using PERFORM and you want to create an account, please read on.
Self-Registration
Many organizations have a site set-up for self-registration. Please contact your organization's site administrator to get a link to sign up.
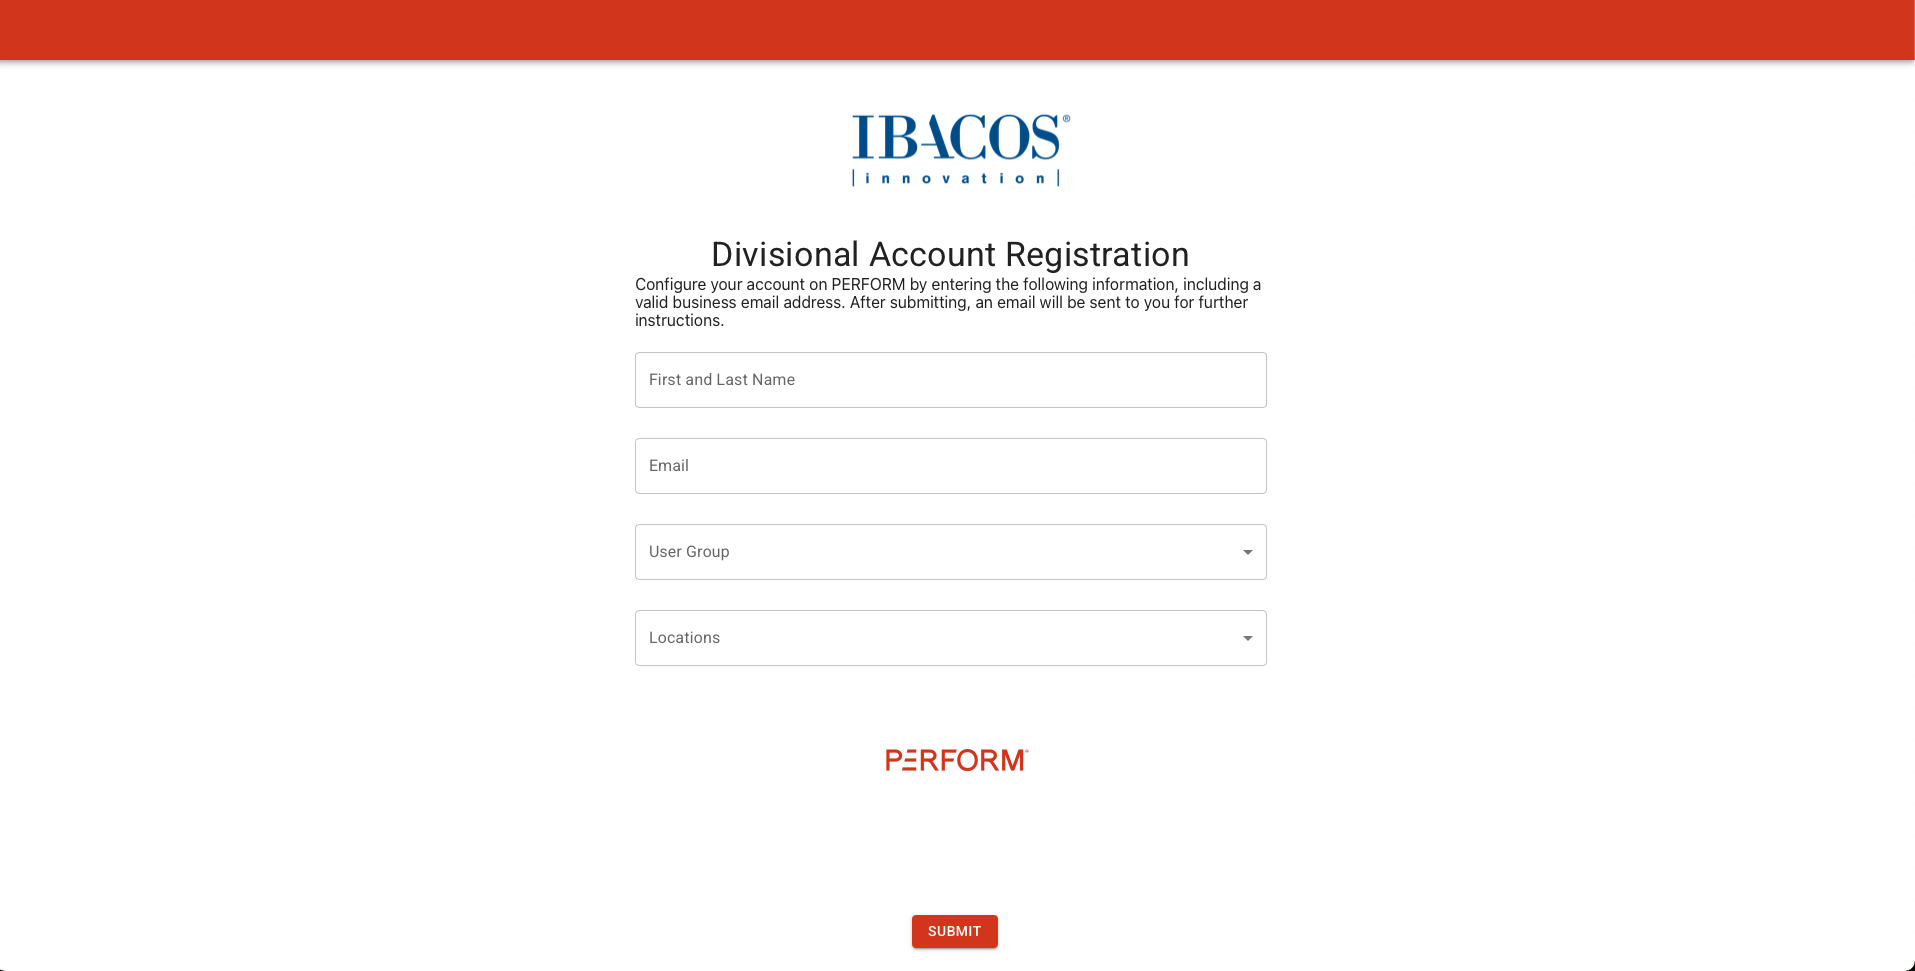
Once you do, you'll be directed to a page where you can enter your name, email address, and select a location for access. You'll need to verify your email to finalize your setup.
"Need Help?" Button
If you don't know who is the best person in your organization to contact for help, use the "Need Help?" button on the login page (opens in a new tab). This is a place where you can type a brief message, and we'll connect you with dedicated personnel from your organization to help you get an account and get started.
If this page doesn't send you an email, it's likely that your company doesn't have this service set-up or does not have an account with PERFORM.
Common Problems (with registration):
- If the site says "This email address does not meet the acceptance criteria." that means that the email address you entered doesn't match the company's settings.
- Make sure you're email is correct, try using lowercase characters, and make sure there's no spaces around it.
- If that doesn't work, contact someone from your organization directly who you think can help.
- If you can't find an email from us, please search your inbox for emails from
noreply@performwithibacos.comto ensure that it's not in your spam or non-priority folders.- If it still doesn't work, try registering again -- there's no harm in it. But double-check that you spelled your email address correctly.
- If you still can't find the email, it's possible that your company may have a firewall blocking it. Please contact your support team using the "Need Help?" method above.
A Quick Overview
Once you login, there's a few things worth knowing about the site.
Location
In the upper right-hand corner of the site is a button labeled "Set Location".
This button gives you access to a hierarchy of locations in your organization in PERFORM, organized by Division, Community, and Lots. You can navigate around by clicking on the names, or you can "set" your location by clicking on the + icon.
When you have a location "set" you'll see it in the corner while you navigate around PERFORM, and everything will filter to that location. For instance, if you set your location to a community, you'll only see inspections and tasks from that community.
Library
Take a course or search a reference library of your company's performance expectations. Use filters or keywords to quickly find what you're looking for. Documents are organized by publication (they are typically updated yearly), and then by area of concern.
Although checklists are the most common type of documentation, many different types of documents can be housed in PERFORM.
Assessments
Create assessments for conducting audits or inspections. You can conduct an assessment on a single building, across a community or over an entire division.
For items of concern, create tasks and assign them to ensure they get addressed.
The default view shows a list of assessments. Use the data tab to download observation data for analytics.
Tasks
Use tasks to help track and resolve issues on the jobsite. Take a picture, write a comment, and assign tasks to anyone in the system. They will be notified, and you can carry on with your day.
Tasks can be created on-the-go or following an assessment, but they're all tracked in one place for quick access.
By default, tasks are organized by location, but open tasks can also be viewed all together by age.
Setting up an Organizational Account
If you are a site-admin, go to the Admin Settings (opens in a new tab) page to set up account information. You'll see the following settings:
- Name
- Your company name will appear in filters, lists, and printouts.
- Logo
- This is used for printing, as well as in the main navigation menu for all your users.
- Colors
- The "Primary Color" will be used for main navigation elements around the site for all your users. The default is PERFORM red.
- The "Secondary Color" will be used for buttons and secondary navigation around the site. As such, this color should "pop" a bit more than the primary. The default is a medium-blue.
- It's best not to pick light colors, but use medium-to-dark tones, as this will look the best in both light and dark modes and for seeing text.
- Assessment Defaults
- These are settings that will impact the default behavior of Assessments and Assessment data.
- "General Visibility" and "Default Scorecard" are fields on an Assessment that you can preset values for. Please be aware that this default will impact all of your company's users; so if, for instance, you have users operating on different scorecards, it may be best to not set a default scorecard.
- The "Color Scale" impacts how scored data-points appear across the site (next to scores on the Assessment list, and on the Scores page of an Assessment). Any score below the red slider will be red, and any score at or above the right slider will be green. You can see how this works on the Assessments Data (opens in a new tab) page which has the same slider which can be modified on-the-fly.
- Locations
- This shows a roll-up count of all the locations your company has on the site.
- Since all users can create locations (within their access area), this page allows you to view and manage these. To start, hit "Edit" and then "Modify" underneath locations.
- What you'll see is a list, much like the "Set Location" menu, but with some extra tools.
- Navigate up-and-down the hierarchy by clicking on the Location names
- Select locations with the checkboxes to merge or archive them
- Archiving locations doesn't delete data, but does ensure that these locations don't appear in lists and can no longer be selected for assessments/tasks.
- Edit location names or keys with the pencil icon
- Self-Registration
- When enabled, this feature will show you three links that can be sent to users in your organization to register their accounts.
- In order for it to work, you'll need to:
- Enable it
- Add a domain (such as "@ibacos.com") that represents the users you want to be able to create accounts. Users whose email doesn't match this domain will be denied access, so it's necessary to set something. Multiple values can be added.
- Access Restrictions: If you want certain locations to not be available as options for self-registration, select them here, and no one will be able to register a user for those locations.
- Default Permissions for new users. Often new users will need either the "Create Tasks" or "Create Assessments" permission. This can be left blank.
- The three links that display can now be sent to anyone with an email matching your domains to set up an account.